How to Schedule LinkedIn Posts with Claude
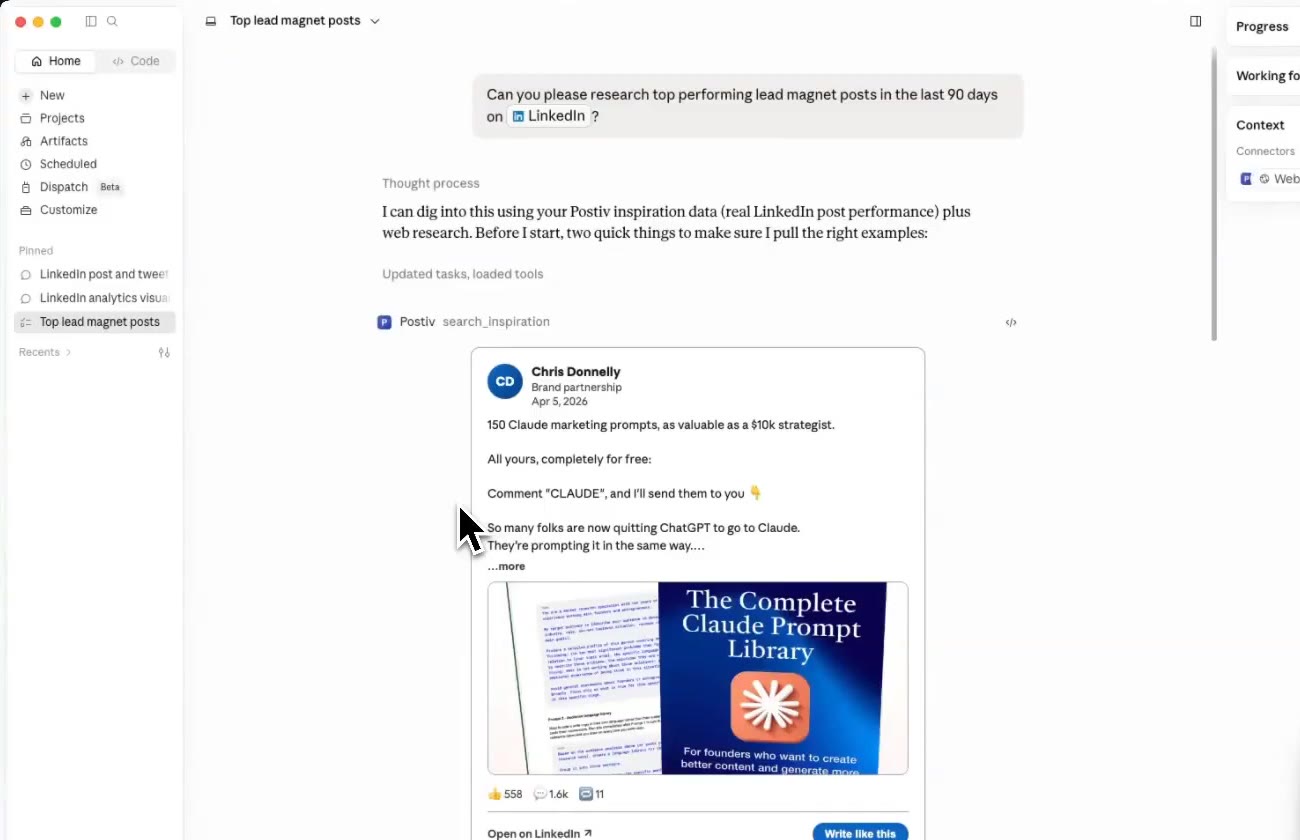
You are working in Claude when an idea for a LinkedIn post comes up. Instead of copying it into another editor, you can turn it into a Postiv draft, review the post, and ask Claude to schedule it.
To schedule LinkedIn posts with Claude, connect Postiv through MCP, create a draft for the right profile, review the final copy, and give Claude a date, time, and time zone. Then check the scheduled post in Postiv's calendar.
This guide follows one post from draft to calendar entry. If you have not connected the accounts yet, start with How to Connect Claude to LinkedIn, then come back here.
Watch the Claude scheduling walkthrough
The video covers three scheduling methods. This embed starts at 3:07, where the Claude and Postiv MCP section begins.
| Jump to | What happens |
|---|---|
| 3:07 — Claude and Postiv MCP | Introduce the connected scheduling workflow. |
| 3:29 — Create a draft | Ask Claude to save a post through Postiv. |
| 3:46 — Review the preview | See the LinkedIn-style post inside Claude. |
| 4:12 — Schedule the post | Give Claude a publishing time. |
| 4:26 — Check the calendar | Open Postiv and confirm the scheduled entry. |
Before you start
You need a Postiv workspace, the intended LinkedIn profile or Company Page connected to it, and Postiv's LinkedIn MCP server enabled in Claude. The connector needs permission to create and schedule posts, and you need permission to manage the selected profile.
The setup article covers connecting the accounts and testing access. There is no need to repeat that setup for every post.
1. Choose the LinkedIn profile and create a draft
Start with an idea you have already discussed, source notes, or finished copy. Ask Claude to save a draft through Postiv. A paragraph in the chat is not yet a saved post.
If you manage multiple profiles, first ask Claude to list the connected LinkedIn profiles and Company Pages. Choose the exact target before drafting, especially when your workspace includes teammates or clients.
The following requests are examples you can adapt, not verbatim transcripts of the video:
Use Postiv to list the LinkedIn profiles and Company Pages available in my workspace. Do not create or schedule anything yet.
After choosing the target:
Turn the idea we just discussed into a LinkedIn post for [exact profile name]. Use the facts from this conversation and my saved writing style. Save it as a Postiv draft and show me the full text. Do not schedule it yet.
For finished copy, ask Claude to save the supplied text unchanged. Either way, check that it reports a saved Postiv draft, not just a suggested post.
2. Review the post inside Claude
The walkthrough shows a LinkedIn-style preview inside Claude. Read the full post and check the profile name, factual claims, links, and any attached media before scheduling.
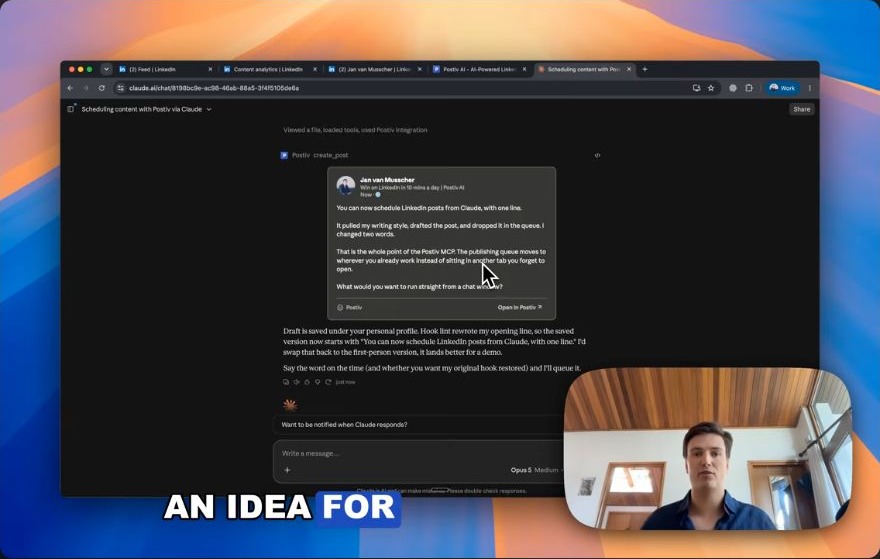
The saved draft preview in Claude, captured from the scheduling walkthrough at 4:04.
You can revise the draft conversationally:
Shorten the opening to two lines and keep the concrete example. Update the existing Postiv draft, show me the revised text, and leave it unscheduled.
Make sure the saved draft contains your latest changes. If your Claude client does not display the inline card, ask for the full saved post text and review it in Postiv before continuing.
3. Schedule it for an exact date and time
In the video, the scheduling request uses tomorrow at 4 p.m. For your own posts, include an exact date and time zone so the intended publishing time is clear.
Schedule the draft I just reviewed for [exact profile name] on [day month year] at [time] in [time zone, such as Europe/Amsterdam]. Use the latest saved version. Tell me the scheduled date, local time, target profile, and whether any approval is still required.
Replace the brackets before sending. Choose a time at least two minutes in the future, which is the minimum for this Postiv MCP scheduling workflow.
Scheduling places the post in Postiv's publishing queue; it does not publish immediately. If Claude reports that approval is required, the post still needs the configured approvers. Your review in the conversation does not bypass that workflow.
4. Confirm the post in Postiv's calendar
Open Postiv's calendar and find the date you requested. In the video, the newly created post appears at the selected time.

The calendar view at 4:34 in the walkthrough, before opening the scheduled post.
Check these details before considering the task complete:
- Profile: the correct person or Company Page.
- Content: the final draft you reviewed, including any media.
- Time: the intended date and time, accounting for the calendar's displayed time zone.
- Status: scheduled, or still waiting for approval.
If you cannot find it, check the selected profile and date, then ask Claude to retrieve the existing post and confirm its status. Avoid creating another copy until you know whether the first scheduling request succeeded.
If you need to change the scheduled post
To move the time, ask Claude to reschedule the existing post with a new date, time, and time zone. Confirm the updated calendar entry afterward.
To change the copy, first ask Claude to unschedule the post and keep it as a draft. Update and review that draft, then schedule it again. This avoids trying to edit a post while it is already in the publishing queue.
If Claude can read your workspace but cannot save or schedule, it may have Read only access. Revoke the existing connection, reconnect, and choose Read & write. For an API-key connection, check its scopes in Postiv integrations. The setup guide's troubleshooting section covers connection and permission problems. The OAuth server URL and client ID are public; keep any optional API key or URL containing one private.
You now have a repeatable path from an idea in Claude to a reviewed post in your calendar. To compare this with scheduling directly on LinkedIn or inside Postiv, see How to Schedule LinkedIn Posts.
Frequently Asked Questions
Can Claude schedule LinkedIn posts?
Yes, when connected to Postiv through MCP. Claude can save a draft, show it for review, and schedule it for a connected LinkedIn profile or Company Page. Writing text in a Claude conversation alone does not schedule it.
Do I need to connect Claude to Postiv first?
Yes. You need a Postiv workspace, a connected LinkedIn profile or Company Page, and the Postiv MCP connector enabled in Claude with permission to create and schedule posts. Follow our Claude-to-LinkedIn setup guide first.
Does scheduling through Claude publish the post immediately?
No. Postiv queues the post for a future time, at least two minutes ahead. If approval is still required for the selected profile, the post waits for the configured approvers before it can publish.
Can I change a LinkedIn post after scheduling it through Claude?
You can ask Claude to reschedule it for another future time. To change the text of a scheduled Postiv post, unschedule it back to a draft, update and review the copy, then schedule it again. Confirm the final calendar entry and any remaining approval requirements.