Putting a video on LinkedIn is about more than just hitting the upload button. To really make an impact, you need to share it as a native video—meaning you upload the file directly to the platform, not just paste a link from YouTube or Vimeo. It’s a small detail that makes a massive difference in who sees your content.
Why Video Is Your Strongest Asset on LinkedIn
Before we get into the nuts and bolts of uploading, let’s talk about why video is such a game-changer on LinkedIn. Think of it this way: video isn’t just another content format in your toolbox. It’s hands-down the best way to humanize your professional brand, build real trust, and connect with people in a space that can often feel pretty corporate.

Consider your own behavior when you’re scrolling through your feed. A text post gives you information, sure. But a video? A video gives you personality, emotion, and a sense of authority all at once. It’s the difference between reading someone's resume and actually having a conversation with them.
With a well-made video, you can:
- Build Trust Faster: When people can see your face and hear your voice, it creates a connection that text just can't match.
- Demonstrate Expertise: You get to show, not just tell. A quick tutorial, a behind-the-scenes look at a project, or a clip from a speaking gig offers tangible proof of what you know.
- Capture Attention Immediately: In a feed that’s moving a mile a minute, motion stops the scroll. A video has a much better chance of grabbing and holding someone's attention than a static image or a block of text.
The Power of Native Video Uploads
Here's a crucial tip from my own experience: the LinkedIn algorithm heavily favors content that keeps users on its platform. When you upload your video file directly to LinkedIn (a native video), it signals to the algorithm that you’re adding value right there, within its own world.
When you prioritize native video, LinkedIn rewards you with better organic reach. On the flip side, pasting a YouTube link is basically telling LinkedIn you want to send people away, which almost always leads to the algorithm burying your post.
This one choice has a direct line to your engagement. In fact, LinkedIn videos now pull in an average engagement rate of around 5.6%, which is a solid jump from past years and shows just how effective they've become.
Ultimately, a strong video presence is non-negotiable for any modern professional. But to get it right, you need a plan. It's a key part of building an effective LinkedIn content strategy for 2025. This guide will walk you through the technical side of things to get you started on the right foot.
Getting Your Video Specs Right Every Time
Before you even think about what to write in your post, we need to talk about the video file itself. Getting the technical details right is the absolute foundation for a successful upload. There’s nothing more frustrating than crafting a fantastic video, only to have LinkedIn reject it or, even worse, display it as a blurry, pixelated mess.
Following the platform’s specs isn’t just about dodging error messages. It’s about making sure your hard work looks sharp, professional, and plays flawlessly for everyone who sees it.
The Nitty-Gritty: LinkedIn Native Video Technical Requirements
Think of these specs as the blueprint for what LinkedIn’s algorithm likes to see. When you hand it a file that fits its preferred format, you’re making it incredibly easy for the platform to process your video and show it to more people.
Here’s a quick-reference table with the key numbers you need to know.
| Specification | Requirement |
|---|---|
| Supported Format | MP4 is the gold standard. |
| File Size | Between 75KB and 5GB. |
| Video Length | Minimum of 3 seconds, maximum of 10 minutes. |
| Resolution | From 256x144 up to 4096x2304. |
| Aspect Ratio | 1:2.4 or 2.4:1. |
| Frame Rate | 10 to 60 frames per second (fps). |
| Bit Rate | 192 kbps to 30 Mbps. |
While these are the official limits, the real magic happens when you optimize within them. Just because you can upload a 10-minute, 5GB video doesn't mean you should.
Why Aspect Ratio is Your Secret Weapon
The shape of your video—its aspect ratio—has a massive impact on how it looks in the feed. This is especially true on mobile, where most people are scrolling. A video that fills more of that vertical screen is far more likely to stop the scroll.
A traditional widescreen (16:9) video, for instance, can look tiny and get lost between other posts on a phone. That’s why you see so many successful creators using square or vertical formats.
Here’s a breakdown of what works best:
-
1:1 (Square): Think 1080x1080 pixels. This is a fantastic all-rounder. It looks great on both desktop and mobile, giving your video a solid, prominent presence in the feed.
-
4:5 (Vertical): This one is built for mobile, usually at 1080x1350 pixels. It takes up a ton of screen real estate, making your content practically impossible to ignore as someone scrolls.
-
16:9 (Horizontal): The classic widescreen format (1920x1080 pixels). This is still a good option, especially for videos originally filmed for platforms like YouTube or if you're primarily targeting a desktop audience.
My Two Cents: If I had to pick one, I’d go with square (1:1). It's the most versatile and guarantees a strong visual impact no matter where your audience is watching.
Nailing these technical details from the start means that when it's time to actually post your video, the upload itself will be the smoothest part of your entire process.
Posting Your Video to LinkedIn: Desktop vs. Mobile
Okay, you've got your video file ready to go. Now for the fun part: getting it live on LinkedIn. The process is a bit different depending on whether you're using your computer or your phone. Each has its own strengths—desktop is great for polished, planned-out content, while mobile is perfect for more spontaneous, in-the-moment shares.
Before you hit upload, it's always good to have a mental checklist of the technical basics. This quick workflow covers the essentials.
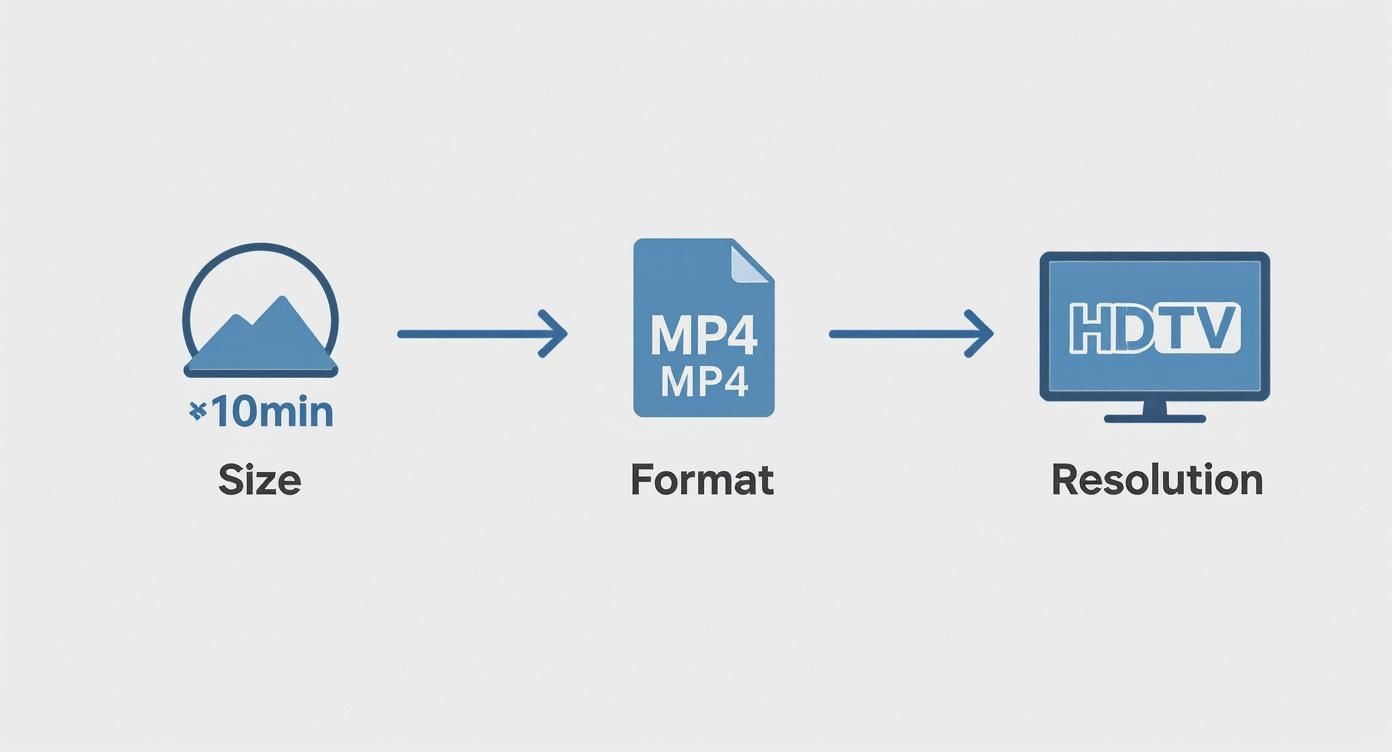
Think of this as your pre-flight check: keep the video concise, stick with the MP4 format, and make sure the resolution is sharp. Nailing these details ensures your video looks professional from the moment it hits the feed.
Uploading a Polished Video from Your Desktop
Your desktop is the command center for high-quality, structured content. This is where you'll want to upload things like pre-recorded webinar clips, customer testimonials, or slick animated case studies. The bigger screen and real keyboard just make it so much easier to write a thoughtful post and add all the important finishing touches.
Let's say you've just wrapped up a fantastic new case study video. Here's how you'd get it out there:
- Kick things off: Head to your LinkedIn homepage and click into the "Start a post" box right at the top of your feed.
- Grab your video: Click the Media icon (it looks like a little landscape picture) and select Video. This will open a file browser where you can find and select your video.
- Write your hook: As the video uploads, start writing your post copy. This is your chance to add context, grab your audience's attention, and spark a conversation. Try opening with a question or a surprising statistic from your case study.
- Tag relevant people: Use the "@" symbol to tag the company you featured or any colleagues who helped out. Tagging sends them a direct notification and can give your post a serious initial boost in reach.
Don't just upload the video and walk away. The text you write around it is what gives it meaning and tells people why they should watch. This is also a great time to think about repurposing your content. You could summarize the video's key points in a different format—for more on that, check out our guide on how to post a carousel on LinkedIn.
Sharing Timely Content from Your Mobile Device
The LinkedIn mobile app is your go-to for capturing and sharing authentic, timely content. It's perfect for on-the-fly thought leadership. Maybe you just left an inspiring session at a conference or had a "lightbulb" moment with a client that you want to share while it's still fresh.
The mobile upload screen is designed for speed, letting you share a video right from your phone's gallery in seconds.
The mobile process is all about immediacy. You just tap the "Post" button in the main navigation bar, hit the Media icon to pick a video from your camera roll, and you're almost done. You can even use the in-app tools to quickly trim the video or add a text overlay to call out an important point.
A tip from my own experience: Always use the mobile app's built-in caption feature. It's a one-tap process that adds subtitles, making your video accessible to the huge number of people scrolling with the sound off. Remember, on mobile, authenticity often resonates more than high production value, so don't be afraid to keep it real.
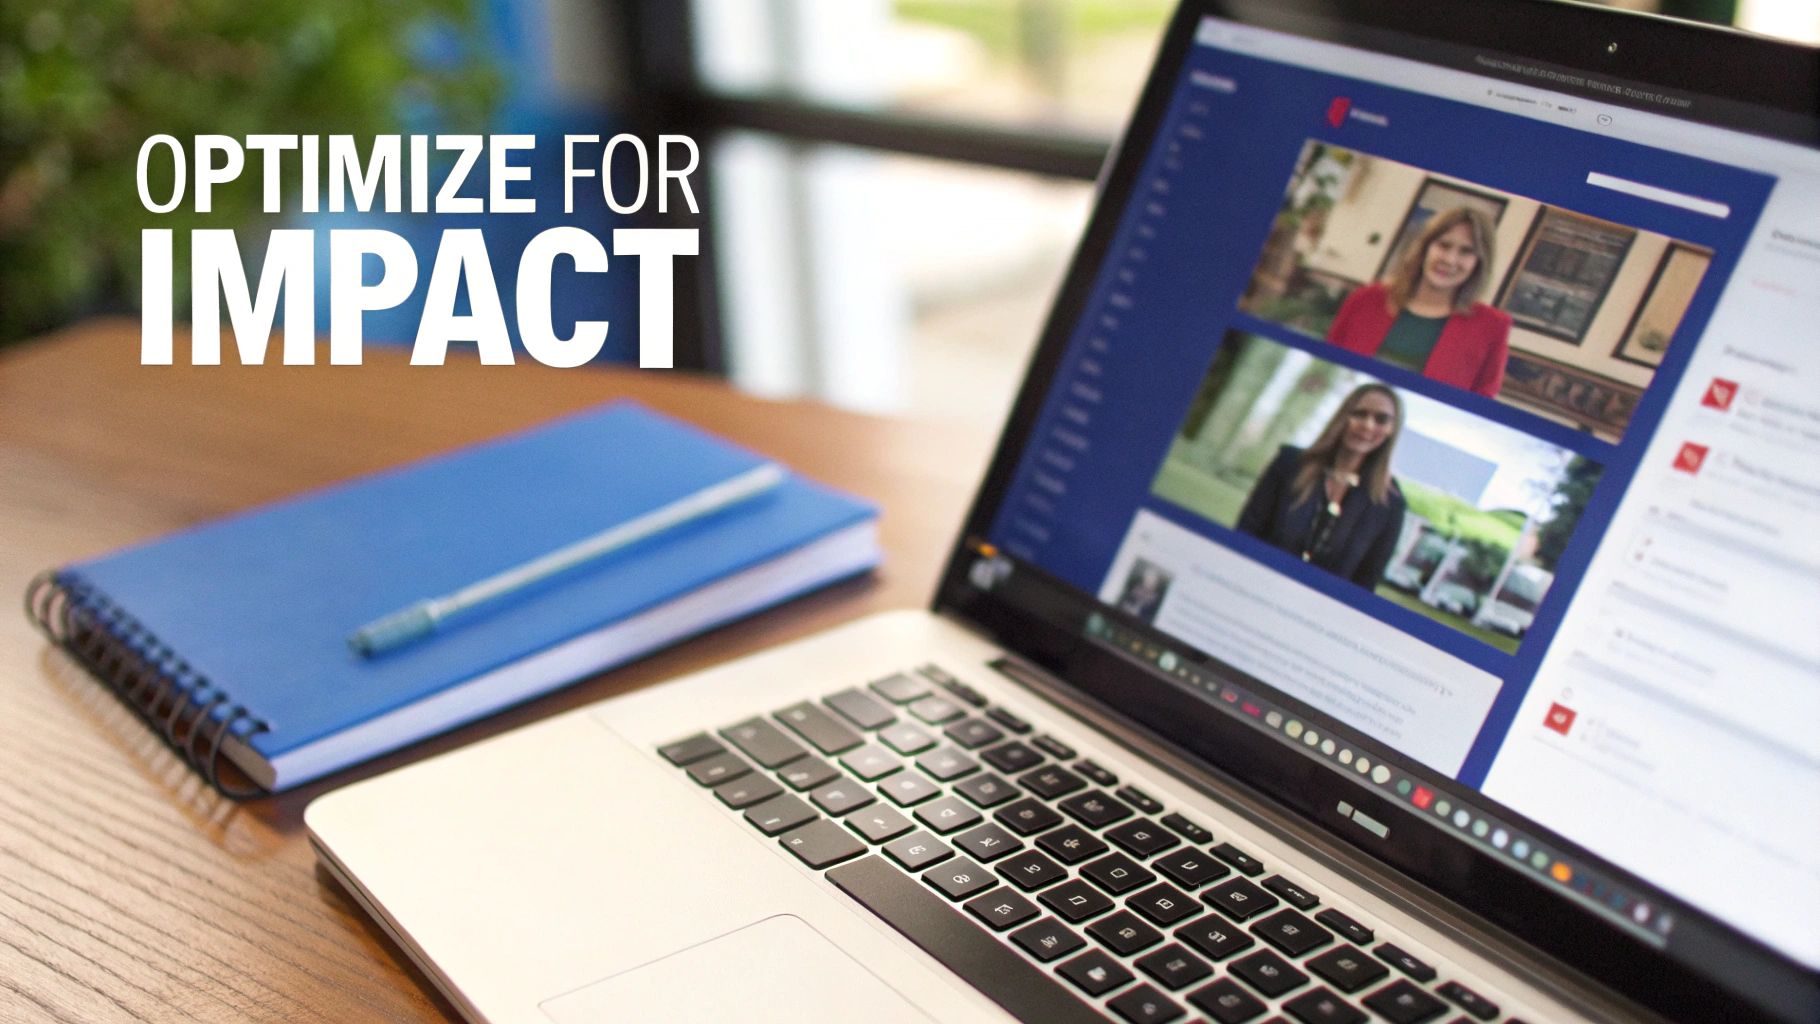
Optimizing Your Video for Maximum Impact
Getting your video uploaded is really just the first step. To actually make a splash in a busy LinkedIn feed, you need to think strategically. A fantastic video can easily get lost if the post itself is weak, but I've seen average videos spark amazing conversations simply because they were optimized perfectly.
This is the difference between simply knowing how to post a video to LinkedIn and understanding how to make that video work for you. It’s all about creating an experience that stops the scroll and pulls your audience in.
Nail the First Impression with a Custom Thumbnail
Your thumbnail is your video’s first handshake, and frankly, it's a non-negotiable for a polished strategy. LinkedIn will automatically suggest a frame, but it's almost always a blurry, awkward, or boring shot. A custom thumbnail puts you in control of that critical first glance.
Think of it like a book cover. You can design a simple graphic that includes:
- A compelling headline: Tease the main takeaway or ask an irresistible question.
- A high-quality image: A professional headshot or a crisp visual from the video works great.
- Your branding: Weave in your logo or brand colors to stay consistent.
This one small step immediately makes your content look more intentional and professional before anyone even thinks about hitting play.
Write a Hook That Stops the Scroll
You get about two lines before LinkedIn tucks your text behind a “…see more” link. That’s the most valuable real estate you have. Don’t waste it with a sleepy intro like, "In this video, I'll be discussing..."
Instead, lead with a hook that piques curiosity or promises a clear benefit.
Key Takeaway: Your only job with that first line is to make it impossible for someone to scroll past without wanting to know the answer or learn the secret. Frame a problem, drop a surprising stat, or make a bold claim.
For instance, instead of a bland description, try something like: "Most professionals get this one thing wrong when negotiating a salary. Here’s a 60-second clip that could add 15% to your next offer." Now that's a hook that demands attention.
Design for Sound-Off Viewing with Captions
A massive number of people—especially on mobile—watch videos with the sound off. If your message is all in the audio, you're missing out on a huge chunk of your audience. This is where captions become absolutely essential.
LinkedIn's auto-captioning is a decent starting point, but uploading your own .SRT (SubRip Subtitle) file gives you total control over the accuracy and timing. Don't underestimate this; studies show that captioned videos can increase watch time by 32% and boost engagement by 29%. That's a direct reflection of how people actually consume content. Adding captions makes your video accessible and far more effective.
Develop a Smart Hashtag Strategy
Finally, hashtags are how your video gets discovered. But more is definitely not better. Aim for a strategic mix of three to five highly relevant hashtags. The best approach combines different types to expand your reach without looking spammy.
A solid hashtag mix usually includes:
- Broad industry tags (like #Marketing or #Leadership) to cast a wide net.
- Niche topic tags (like #B2BContentStrategy or #VideoMarketingTips) to attract a more targeted audience.
- A unique branded tag (like #YourCompanyName) to organize your content and build brand recognition.
This balanced strategy helps the LinkedIn algorithm understand who your video is for and get it in front of the right professionals. While video is incredibly powerful, remember it's just one piece of the puzzle. You can get more great ideas by checking out our guide on LinkedIn carousel best practices.
Beyond the Post: Video Ads and Analytics
So, you've nailed the basics of posting organic videos. That's a huge first step. But to really move the needle, you need to think about what comes next. This is where you graduate from just sharing content to building a strategic, data-driven video engine for your brand.
It's about being intentional. Instead of just hoping the right people stumble across your video, you can put it directly in front of the exact decision-makers you need to influence. That’s the power of combining paid promotion with smart analytics.
Using LinkedIn Video Ads to Amplify Your Message
Let's be real: organic reach is great for building community, but it has its limits. When you have a specific business goal—like driving webinar sign-ups or generating high-quality leads—LinkedIn video ads give you the firepower you need. The targeting capabilities are incredibly precise, letting you dial in on job titles, industries, company size, and a whole lot more.
Think about it this way. You’ve just produced a fantastic video testimonial from a key client. Organically, it might get seen by a few hundred of your connections. But with a modest ad budget, you can place that same video right in the feeds of 5,000 senior managers in the exact industry you're targeting.
This is why B2B marketers have leaned so heavily into video ads. We’re seeing them generate up to three times more engagement than static posts. And the numbers don't lie: B2B decision-makers retain 95% of a message when they see it in a video, a massive leap from just 10% when they read it in text.
Decoding Your Video Analytics for Smarter Content
Posting a video and never checking its analytics is like speaking to a room with the lights off. You have no idea who's listening or if your message is actually connecting. LinkedIn’s built-in analytics are your light switch, giving you the feedback you need to stop guessing and start creating content that consistently hits the mark.
Your video data tells a story. Learning to read it is the single most important skill for improving your content strategy over time. It transforms your posting from a creative exercise into a measurable business activity.
Finding this data is simple. Just go to your post and click on the view count. That click will open up a dashboard packed with metrics that show you exactly how people engaged with your video.
Here are the key numbers I always look at:
- Views: This is your top-level metric for reach, counting anyone who watched for at least three seconds. It tells you if your video's first few moments were compelling enough to stop the scroll.
- View Duration: Honestly, this might be the most valuable metric of all. It shows the average percentage of your video people watched and, more importantly, reveals the exact point where they dropped off. Did everyone leave after 15 seconds? Your intro might be the problem.
- Audience Demographics: This is your reality check. Are you actually reaching the right people? This section breaks down the job titles, companies, and locations of your viewers, confirming if your targeting is on point.
- Click-Through Rate (CTR): If your post included a link, this metric is gold. It measures how many viewers took the next step and clicked, directly tying your video's performance to a business outcome like website traffic or lead generation.
Got Questions About LinkedIn Video? Here Are Some Answers
Even the most seasoned video creators run into snags. You’ve got the strategy down, but when it comes time to actually hit "post," a whole new set of practical questions pop up. Let's walk through some of the most common issues I see people struggle with.
One of the biggest headaches? The upload just fails. Nine times out of ten, if your video won't upload, it's a simple file issue. Before you pull your hair out, just double-check that your video is an MP4 file and that it’s under the 5GB size limit. That single check solves the problem most of the time.
What Is the Ideal LinkedIn Video Length?
So, LinkedIn lets you upload a video that's up to 10 minutes long. But just because you can doesn't mean you should. The real question is what length actually gets views and engagement.
My experience and all the data point to the same conclusion: shorter is almost always better. For most videos on the feed, aim for the sweet spot between 45 and 90 seconds. That's just enough time to share a meaningful tip or story without losing the attention of a busy professional scrolling on their lunch break.
My personal rule of thumb is to be ruthless in the edit. If a point can be made in 60 seconds, don't stretch it to three minutes. When you respect your audience's time, they'll reward you with their attention.
Have something longer, like a webinar recording? Great! Don't post the whole thing. Chop it up into a mini-series of short, focused clips. You'll get higher engagement on each one and have a steady stream of content to share for days or weeks.
Why Does My Video Look Blurry After I Upload It?
This one is incredibly frustrating. You export a beautiful, crystal-clear video, upload it, and it looks like it was filmed on a potato. What’s going on? The culprit is almost always LinkedIn's own compression algorithm. It automatically squishes your video file to make it load faster for everyone, but that can often result in a loss of quality.
To fight back against the blur, here are a few things you can do:
- Export with a Higher Bitrate: When you’re exporting your video from your editing software, push the bitrate a little higher (but stay under LinkedIn's 30 Mbps limit). Giving LinkedIn more data to work with usually results in a cleaner final product after their compression.
- Start with High-Quality Source: Always upload the best version you have. If you have a 1080p (1920x1080) or even a 4K file, use that. The better the starting quality, the better the compressed version will look.
- Be Patient: Sometimes, it’s just a matter of time. LinkedIn often shows a low-quality version of your video immediately after upload while the HD version processes in the background. Give it 10-15 minutes and check again before you panic.
Can I Edit a Video After I've Posted It?
Here’s a critical detail you need to know: you cannot edit the video file itself after it’s been posted. If you notice a typo in a text overlay or a glaring mistake in the footage, your only move is to delete the entire post and start over by re-uploading the corrected video.
You can, however, edit the text elements of the post. After posting, you can still go back and fix:
- The description or copy.
- The hashtags.
- Any @mentions of people or company pages.
This is why a final, last-minute watch-through is so important. Catching a mistake before you post saves you the hassle of deleting, re-uploading, and losing any initial engagement you might have gotten.
Creating consistently great LinkedIn content, from compelling videos to professional carousels, is a lot of work. Postiv AI is built to handle the heavy lifting, helping you draft on-brand posts, design beautiful carousels, and schedule it all in one spot. Turn your ideas into authority-building content in minutes at https://postiv.ai.